How to Replace a Razor Scooter Battery: Step-by-Step Guide
Did you know 83% of electric rideables lose up to 40% of their range after two years? A worn-out power source turns quick errands into frustrating pit stops. This guide reveals how swapping components breathes new life into personal transportation devices.
Maintaining energy cells matters more than most riders realize. Proper care prevents sudden shutdowns and keeps wheels spinning smoothly for years. Whether dealing with reduced runtime or total failure, understanding replacement techniques saves money and headaches.
Not all chargers work with every model, and using mismatched equipment risks damage. This tutorial explains how to match specifications while prioritizing safety. Readers will learn to identify warning signs like swelling casings or erratic charge cycles.
Modern electric models vary in design, but core principles remain consistent. From disconnecting terminals to testing fresh installations, each step gets explained in plain language. Discover why quality parts matter and how they restore zippy acceleration.
Preparing for Your Scooter Battery Replacement
Smart preparation separates smooth upgrades from frustrating mishaps. Whether working on a compact bike or adult-sized electric vehicle, three essentials rule: right tools, clear instructions, and organized workspace.
Gathering Tools and Safety Equipment
Start with insulated gloves and protective eyewear – non-negotiable for handling electrical components. Most models require Phillips screwdrivers, needle-nose pliers, and voltage testers. Keep a magnetic tray nearby for loose hardware during disassembly.
Technical storage access matters more than many realize. Designate separate containers for old and new parts to prevent mix-ups. Adults should double-check that tools remain within easy reach but away from children or pets.
Reviewing Model-Specific Instructions
Manufacturers provide guidelines for necessary legitimate purposes like warranty compliance. Locate the requested subscriber user manual – often found under seat panels or in digital portals. Cross-reference charger labels with technical specifications to ensure compatibility.
Storage access used exclusively for repair materials keeps workspaces efficient. Never sell share information from proprietary guides, as this violates most user agreements. Following these steps creates safer upgrades while maintaining device integrity.
Understanding Your Razor Scooter Battery System
Ever stared at cryptic codes on your device and wondered what they mean? Those numbers hold the blueprint for seamless upgrades. This section decodes identification tags and technical specs that keep electric mobility solutions running smoothly.

Finding the Hidden Identification Code
Manufacturers stamp unique identifiers in three common spots:
- Underneath the charging port cover
- Engraved on the power unit’s casing
- Printed on original packaging labels
Look for a 12-digit alphanumeric sequence – positions 7-8 often indicate production batch details. Clean the area with a dry cloth for better visibility if needed.
Matching Specifications Like a Pro
Always cross-reference these four elements when selecting replacement components:
- Voltage output (e.g., 24V vs 36V systems)
- Connector type (XT60 vs Dean’s plugs)
- Physical dimensions for proper fit
- Charge cycle ratings
Manufacturer portals for requested subscriber accounts often provide compatibility charts. Double-check documentation against new products to avoid mismatches that void warranties.
Step-by-Step Battery Removal Process
What seems tricky at first becomes straightforward with the right approach. Following these steps ensures components come out smoothly while keeping users protected. Let’s break down the essentials for a stress-free experience.

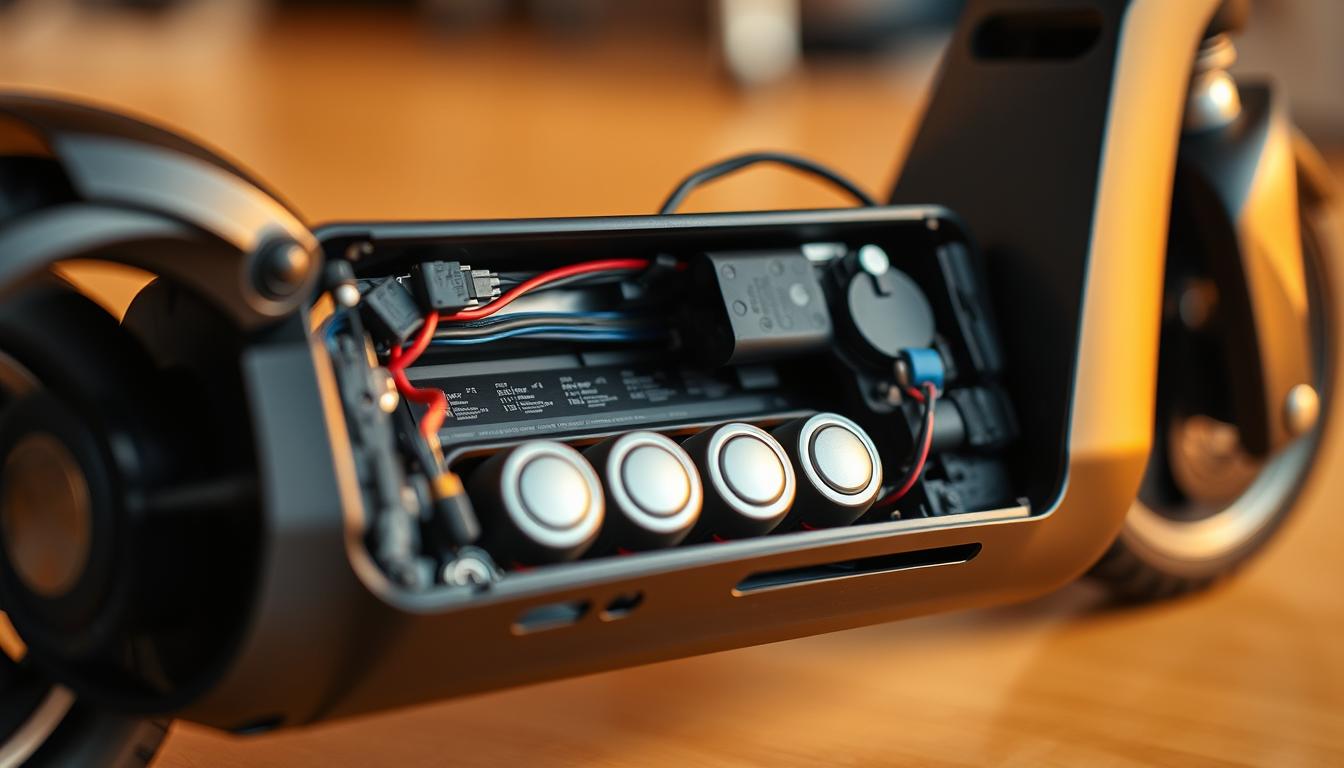
Disconnecting and Removing the Old Battery
Start by powering down the device completely. Locate the power core compartment – typically secured with Phillips screws. Use tools designated used exclusively for electrical work to avoid stripping delicate parts.
- Detach negative terminals first using insulated pliers
- Gently wiggle connectors instead of pulling forcefully
- Lift out the unit while supporting its underside
For models like the Razor E300, check for secondary clips under protective panels. Always maintain necessary legitimate documentation if warranty claims might apply later.
Handling the Battery Pack Safely
Damaged units require extra caution. Place removed components in non-conductive containers with access used only for storage purposes. Three critical safety checks:
- Inspect for cracks or unusual odors immediately
- Wear thick gloves when moving swollen cells
- Store temporarily in dry, temperature-stable areas
Teens and adults should never sell share compromised units online. Recycling centers handle hazardous materials properly – local shops often share information about drop-off locations. Remember: careful handling preserves both safety and future performance.
Installing and Testing the New Battery
Ready to feel that thrill of renewed power? Proper setup ensures your device performs like new while protecting its electrical heart. Let’s walk through the final steps to lock in success.

Correct Installation of the Power Unit
Position the fresh energy cell exactly as the old one sat. Three keys to perfect placement:
- Align connectors before applying pressure
- Listen for a click when securing latches
- Check clearance around wiring harnesses
Adults should double-check orientation using their model’s detailed guide to replacing components. Never force connections – mismatched plugs signal compatibility issues.
Verifying Electrical Connections and Performance
After securing the unit, wait 15 minutes before first use. This gives systems time to handshake properly. Follow this verification checklist:
- Test voltage with a multimeter
- Inspect terminals for firm contact
- Complete a short test ride at low speed
Product support teams recommend storing devices in dry areas between 50-80°F. Proper storage access extends service life by preventing extreme temperature damage. If acceleration feels sluggish, revisit connection points before contacting specialists.
Most adults complete installations in 20-30 minutes. Remember: patience beats haste when working with delicate electronics. Celebrate your success with a smooth, worry-free ride!
Wrapping Up Your Battery Replacement Journey

You’ve just unlocked extended adventures with your refreshed ride. Following proper safety protocols and technical steps ensures your device delivers reliable performance for years. Remember to prioritize protective gear and double-check connections during upgrades.
Regular service checks keep energy cells healthy. Clean terminals monthly and avoid extreme temperatures. For families, teach kids basic care habits to extend component life. Always match replacements to your model’s specifications for optimal results.
Bookmark manufacturer guides and trusted forums for quick information access. Share your experience to help other users navigate similar purposes. With these practices, your electric companion will adapt to changing preferences while serving its core purpose efficiently.
Now hit the pavement knowing you’ve mastered essential maintenance skills. Every smooth ride proves the value of careful service and informed decisions. Keep exploring – your upgraded device is ready for whatever comes next!
FAQ
How often should the power pack in a Razor model be replaced?
Most units last 1–2 years with regular use. Factors like riding terrain, charging habits, and storage conditions impact lifespan. Check performance indicators like reduced speed or shorter ride times to gauge replacement needs.
What tools are required to safely swap out the power core?
Basic tools like insulated gloves, a Phillips-head screwdriver, and wire cutters are recommended. Always review the manual for model-specific requirements—for example, the E300 may need a 36V charger during installation.
Can a third-party power unit work with older Razor models?
Compatibility depends on voltage, connector types, and size. Locate the ID tag on the original unit to compare specs. Using non-approved options might void warranties or damage electrical systems.
How do riders dispose of old lithium-ion packs responsibly?
Many retailers like Best Buy or AutoZone offer recycling programs. Avoid tossing them in regular trash due to environmental hazards. Check local regulations for drop-off centers specializing in e-waste.
What steps ensure the new unit functions correctly after installation?
Double-check wire connections, secure mounting, and full charges before testing. Take a short ride on flat ground to monitor acceleration and braking. If issues arise, consult Razor’s technical support team for troubleshooting.
Are there maintenance tips to extend the power pack’s lifespan?
Store the device in dry, moderate temperatures and avoid draining it completely. Charge after each use, and keep terminals clean to prevent corrosion. Regular inspections help catch wear early.